Table of Contents
With the advent of iOS 11, Apple has conveniently provided its users with the ability to unzip or compress files directly within the default Files app. This has revolutionized file handling in iOS, making zipping and unzipping processes effortless, and assuring uncompromised safety for your iOS device.
A simple guide through the streamlined process will suffice to get you up to speed within moments. The ease of use may leave you content; nonetheless, to those industrious users seeking an enhanced grip on their archiving operations, we provide additional recommendations for alternative applications that permit users to zip and unzip files proficiently on an iOS device.
To illustrate the process, the following image presents how the standard file handling system on iOS functions. Advanced users might seek alternative tools to handle their archives in a more customized manner, and to them, we confidently suggest exploring additional applications to address those needs.
How To Unzip Files On iOS
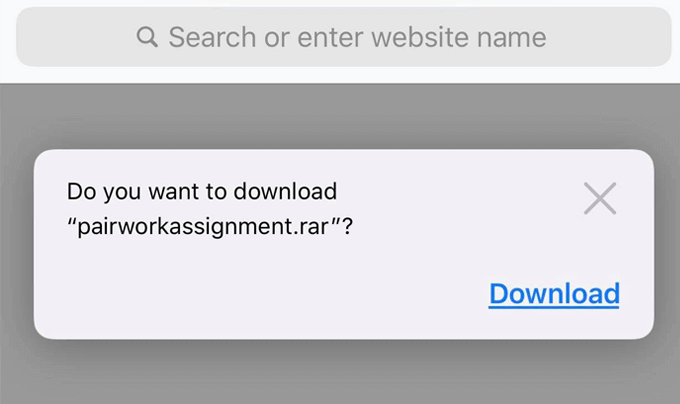
Initiating the process of unzipping files on your iOS device begins with obtaining your archived file on your iPhone. A variety of methods exists which includes downloading the file via Safari, receiving it through email, or getting it directly from your contacts on instant messaging applications. Upon getting the link of the file, simply perform a tap on it. A message prompt will consequently pop up, seeking your confirmation for the download process. Assertively engage the download option and let your file be stored in your files app.
- A simple swipe down executed from the home screen will land you in the access search.
- Here, you are required to thrum for Files and eventually tap on the appearing Files app.
- The ‘recents’ option or the filename search could assist you in fishing out the recently downloaded zip file.
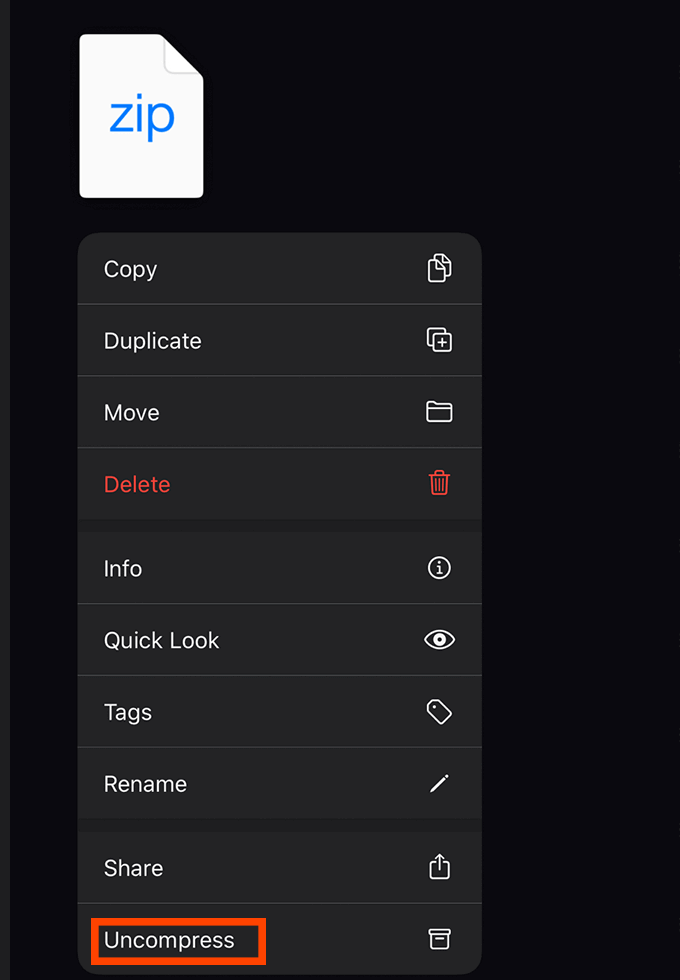
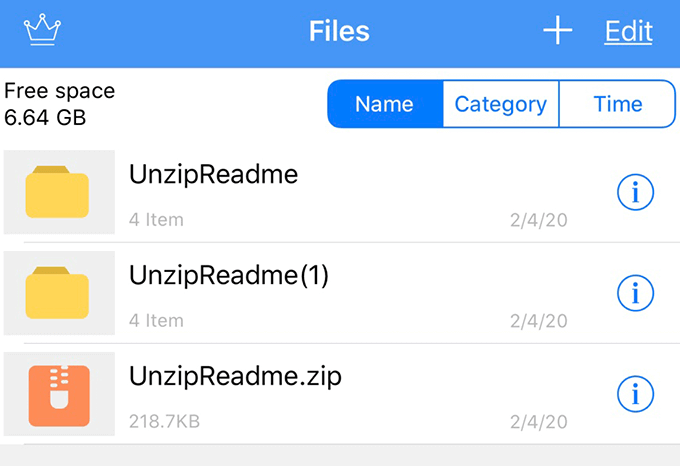
- The following task involves you paddling to the saved location of the .zip file. Hold down the .zip file for a duration and be greeted by the unveiling of an array of options. Choose the ‘Uncompress’ option and behold your files as they unfurl into a brand new folder.
- On an iPhone, the original .zip file obstinately continues to exist even after the uncompression is done. To exterminate its existence, hold down the .zip file for a bit longer and thump on delete.
How To Zip Files On iOS
Compacting or "zipping" files on your iPhone can be an exceptionally efficient method of managing your digital assets. It’s a straightforward task when you know the procedure. The primary step involves aggregating the files you intend to compress in one folder.
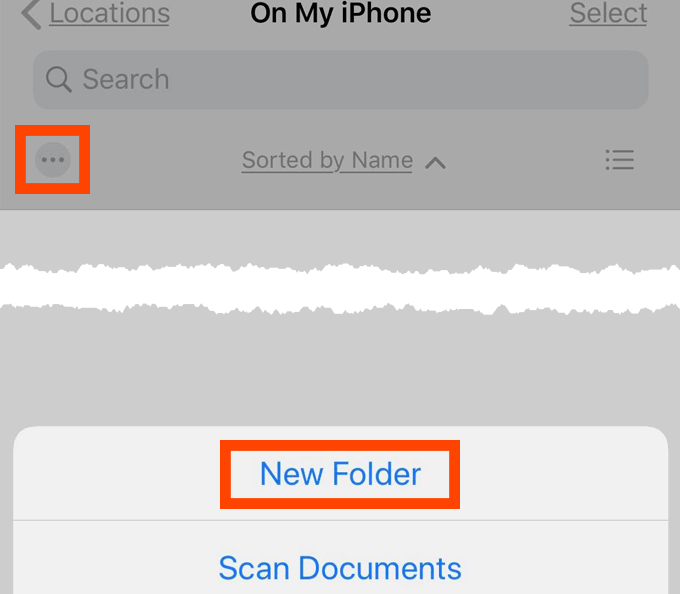
- Open the Files app and swipe downwards on your iPhone’s screen to reveal the folder creation option.
- Upon locating the triple dots icon situated on the left, click on it.
- Select ‘New Folder’, label it as per your preferences, and ultimately authenticate by clicking ‘done’.
Once the folder is accessible, we now proceed to place your files appropriately. To do this, mirror the first two procedures for every file that you intend to include in your new zip file.
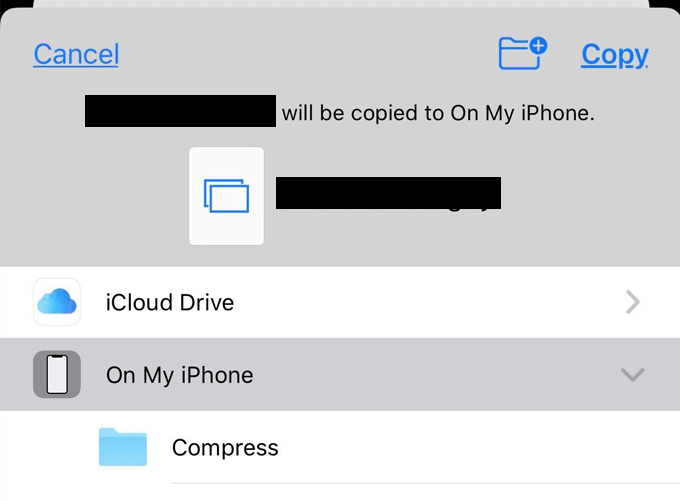
- Navigate to the specified file in your Files application, maintain a press on it and choose the ‘move’ option.
- Select the recently created folder.
- Iterate these instructions for each file intended for compression.
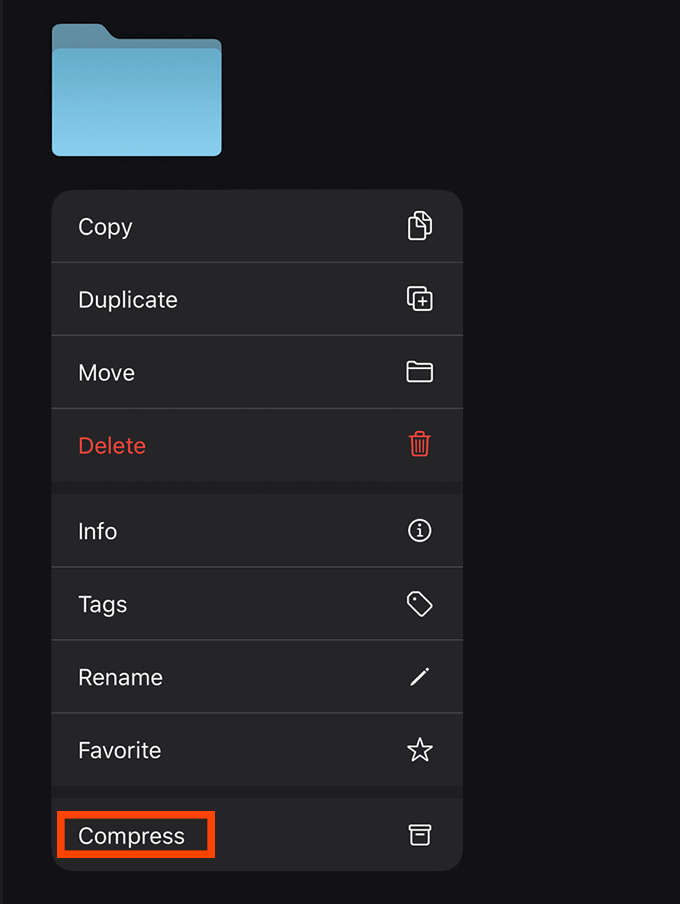
- Upon completion, maintain a press on the created folder until different action options surface.
- Select ‘Compress’ at this stage. Your Files app will immediately create a new .zip file that you can dispatch to colleagues, transfer to different devices or store on your iPhone.
Why Should You Create Zip Files On iOS?
The concept of creating .zip files embraces the technique of compressing items, which aptly garners its moniker due to its effect on data. By zipping or binding files together, a process of contraction occurs that significantly reduces the total file size. This, in turn, enables you to maximize the storage capacity of your device by containing more files in the form of zipped format.
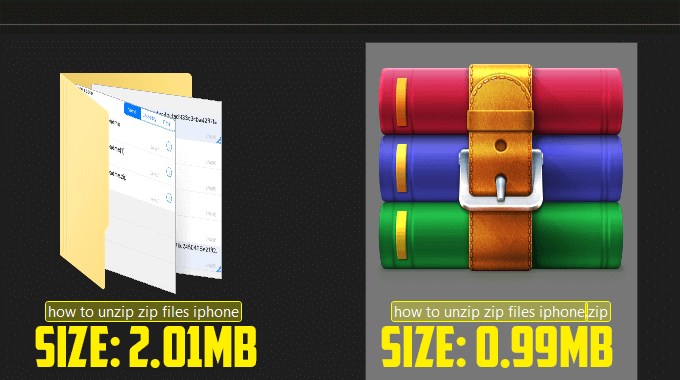
However, zipping files doesn’t mean a permanent modification to their attributes. On the contrary, whenever required, these compressed archives can be decompressed, resulting in the retrieval of the original files in their untouched quality. Imaging saving substantial space in your device by creating archives of those tens of thousands of images and video clips you have!
However, remember this, zipped archives cannot be directly accessed by file browsers or apps until you unlock their compressed state. Meaning, if you heavily rely on certain files, archiving them for regular use might not be a practical move.
One more compelling reason to create zip files is their easy shareability. Compiling multiple files and folders into a single .zip archive simplifies processes, exponentially easing sending through email or instant messaging platforms. Picture attempting to share multiple files and folders without compacting them first – a cumbersome task indeed!
Plus, consider the added bonus – zipping compresses the file size, this considerably trims down both upload and download times for files you intend to share, a boon for those large files that ordinarily take quite their fair share of time!
Alternative Zip & Unzip Apps On iOS
Despite the Files apps already built into the iOS platform offering the basic functionality for zipping and unzipping files, leveraging alternative applications present in the App Store can offer greater control over this process. The possibilities open up with these applications as they may introduce password protection, encryption, or additional archive file formats to their offerings.
Let us remember, before diving into the exploration of these applications, that these are third-party offerings. As with any such apps, the user experience might not be as smooth as with in-built apps and the appearance of in-app purchases or ads is a possibility.
iZip
The iZip application brings to the table a user-friendly file browser complete with a range of sophisticated features neatly tucked into the settings menu. Browse your files, documents, audio, photos or even specific categories, or explore files via OneDrive, Box, Dropbox, and Google Drive.
Although this interface allows for expansive browsing, its design makes selecting multiple folders or files of varied formats simultaneously a bit complex. It requires the user to select files of similar formats and archive them collectively. This means one can select several videos or selfie photos at once, but not a combination of the two.
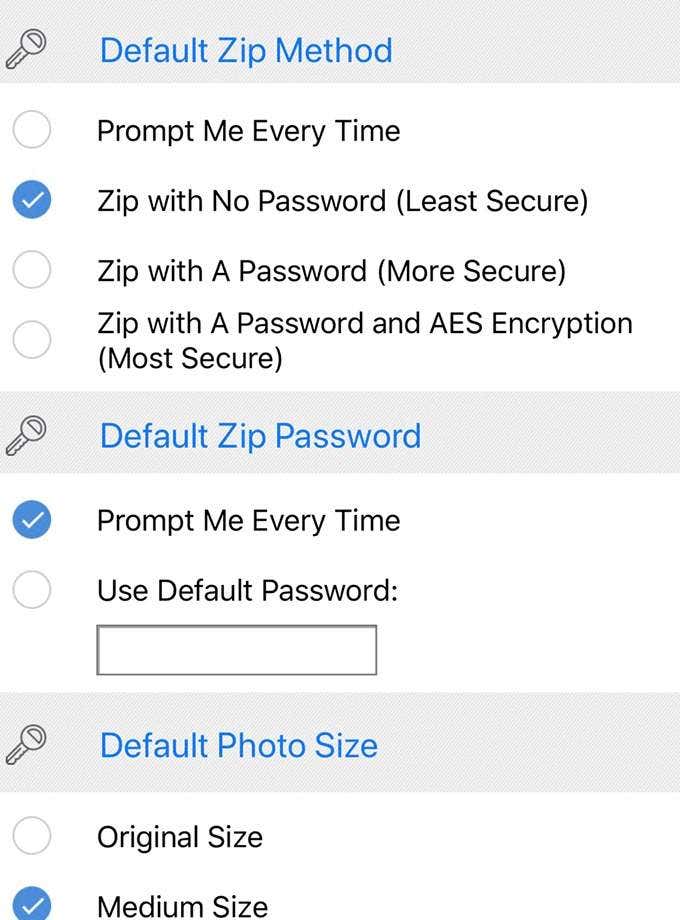
Once you’ve selected the files, a simple tap initiates the zipping process in iOS and an archive is promptly created. To decompress files, all you need to do is tap the archive. From tweaking settings for zipping files to choosing to apply settings automatically to every zip archive, this app does offer much, despite having to navigate through a few more menus.
Despite iZip’s few imperfections and ads placements, its functionality is commendable and it manages to get the key tasks done with ease.
Unzip
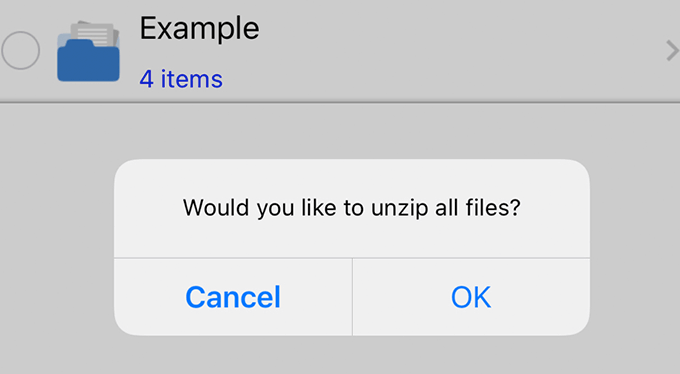
Unzip offers a simplistic archiving solution designed to serve basic functionality effortlessly. Simply tap an archive file and voila, it decompresses without any further prompting. It is designed with privacy in mind, access is limited to very few of your files, making it an excellent choice for those wary of their privacy.
Need access to more files? Just press the + button, import photos or music, select the files or photos for import, and grant permissions whenever prompted. If you wish to get rid of ads and add a passcode lock to your archives, the pro version is available for purchase at $1.99. Alternatively, you could purchase both features individually for $1 each. Without these, the ads might feel slightly intrusive with unskippable ads popping up regularly and banners at the bottom of the app.
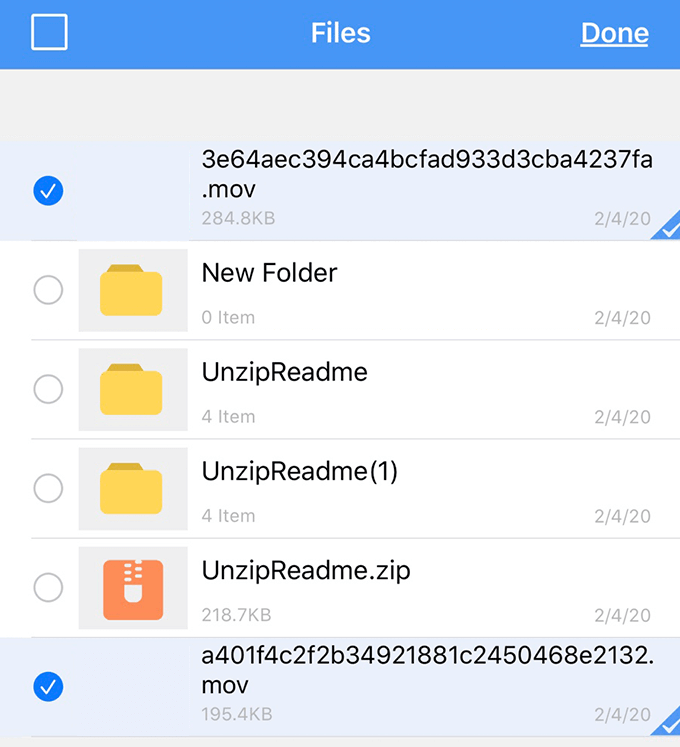
To create a zip file, simply tap the edit button and select the files for archiving. You even have the option to add standard password-protected encryption when archiving. In summary, Unzip is less complicated than iZip, offering more control over file access. Although you might not have as much control over archive file type or compression settings, it’s an excellent choice for those who value a quick and easy file unzipping experience.
Summary
The purpose of this article has been to guide you in smoothly navigating through the process of zipping and unzipping files on the iOS platform. Did you find this guidance beneficial? Are you left with any queries that have not been addressed, or perhaps some insightful tips from personal experiences you’d like to share with us? Engage with us in the comments section below, where we’ll be waiting to interact with you and learn from your experiences as well.
FAQs
Q1: What application do I need to unzip files on my iPhone or iPad?
A: You can use the Files app, which comes pre-installed on all Apple devices.
Q2: How can I open the unzipped files?
A: After unzipping the file, you can open it by tapping on the file name in the Files app. The app will automatically open the file in an appropriate app.
Q3: Can I unzip multiple files at the same time on my iPhone or iPad?
A: No, currently Apple’s Files app supports unzipping one file at a time only.
Q4: Can I unzip files from cloud-based platforms like Google Drive, Dropbox, etc.?
A: Yes, Files app supports cloud-based platforms. If you have the app of the cloud platform installed, you can unzip files directly.
Q5: What types of files can I unzip with the Files app on my iPhone or iPad?
A: The Files app can unzip any standard zip files. This includes .zip and .rar files.