Table of Contents
Acquiring a new computer can be exhilarating. Nevertheless, it also comes with the necessity of transferring all your data, including your iTunes library, from your old device to the new one. Although Apple has discontinued iTunes in its latest macOS, one can still utilize the application on older macOS and Windows versions.

Contrary to what you might expect, the transfer process of your iTunes library is quite straightforward. iTunes comes equipped with built-in features that facilitate the smooth transition of your library from one system to another.
Consolidating Your iTunes Content in a Single Directory
Fundamentally understanding how iTunes operates simplifies the process immensely. Interestingly, iTunes doesn’t require files to be physically present within a centralized iTunes folder. The app can effectively locate, classify, and play songs that are scattered all over your computer. Therefore, the concept of transferring a single folder does not apply here.
However, there’s a handy feature that allows you to consolidate your dispersed iTunes library into a single location. The procedure only replicates your files into the requisite iTunes folder, without relocating the existing ones. Therefore, ensuring ample storage space is crucial as it will overall double the volume of your iTunes content.
- Start the iTunes application on your computer.
- Select Library from the File menu, which is found at the upper part of your screen. This will enable you to consolidate all your iTunes files.
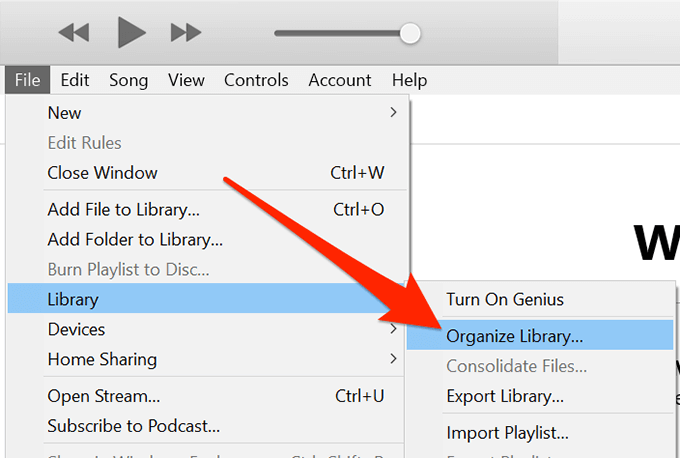
- You will be presented with two options where you need to enable the one saying Consolidate files. Once enabled, confirm your choice by clicking on OK.
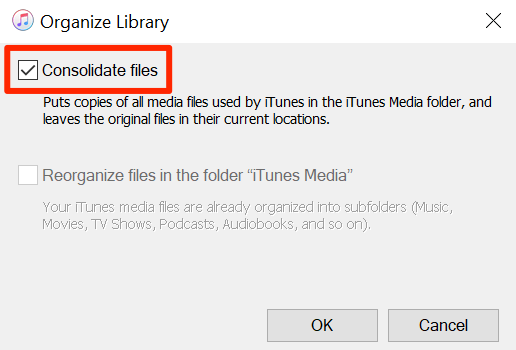
- Shortly, the process of copying your iTunes library from various locations of your computer to the primary iTunes folder will commence. You need to wait for it to complete the task.
Once the duplication is successful, you may remove the original files from their respective directories, as per your preferences.
Identify The iTunes Folder & Duplicate It To Your Portable Hard Drive
Upon the successful consolidation of your comprehensive iTunes library within a single folder, it’s time to copy it to an external disk for future migration to your new computer. Although it sounds simple, the challenge lies in locating the iTunes library folder as it’s tucked away deep within multiple directories.
Oftentimes, if you or another user ever changes the default iTunes media folder path, it won’t be available in a standard location. Here, you need to precisely locate its current position on your machine.
Thankfully, iTunes provides a straightforward method to find where it houses its media folder. You can then conveniently copy this folder to your external drive, initiating the transfer procedure.
- Launch the iTunes app on your computer.
- Select Preferences from the Edit menu at the top. This will lead you to the iTunes settings menu.
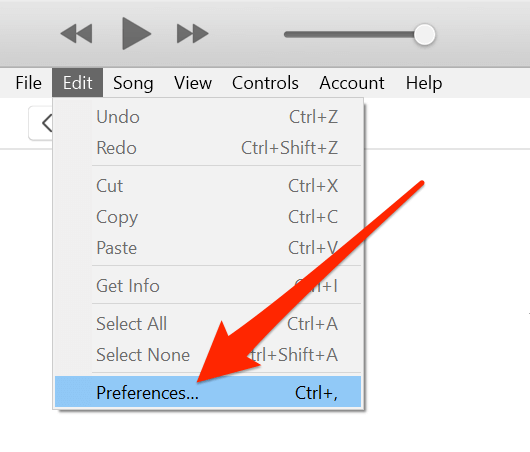
- From the settings page, you need to switch to the Advanced tab, where you will find the current path of your iTunes Media folder. Make a note of this location as you will require this information in the following steps.
- Subsequently, exit iTunes on your computer.
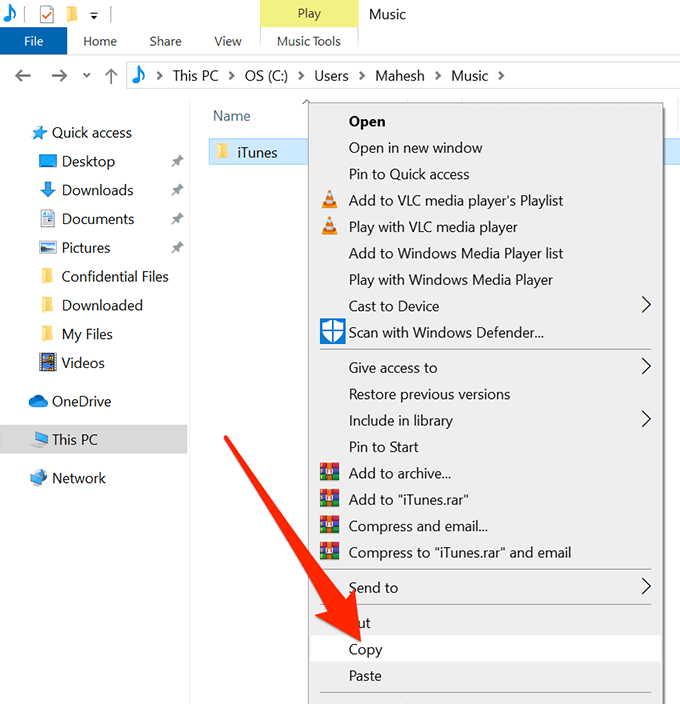
- Now, use File Explorer to navigate to the recorded path. You should find a folder titled iTunes. If not, backtrack one level and check again.
- Upon finding it, right-click on the iTunes folder and select Copy.
–
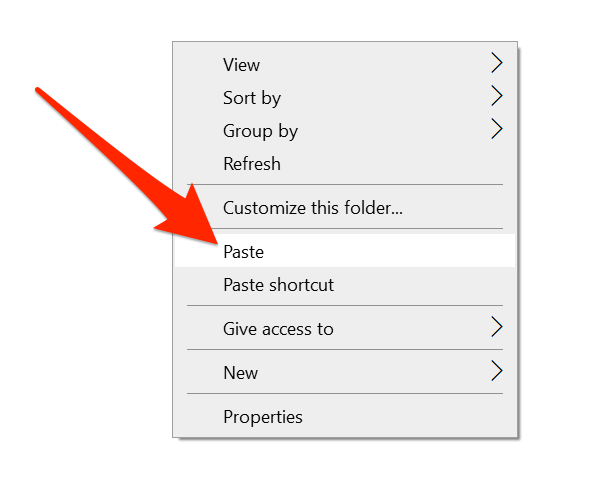
- Navigate to your external drive, right-click in a blank area, and select Paste. Then, wait for your files to copy successfully.
Initializing Your iTunes Library On Your New Machine
Your complete iTunes library should now be stored on your external storage device. The next step is to connect this hard drive to your new computer, transfer the iTunes library files, and guide iTunes to recognize and import these files.
Despite sounding daunting, the process is relatively straightforward. The steps include copying your files and configuring iTunes to comprehend your transferred library. That’s it!
- If iTunes is already open on your new computer, ensure to close it before doing the following steps.
- Connect your portable drive to your new device and copy the iTunes folder, which is essentially your iTunes library folder.
- Next, use File Explorer to locate a suitable directory for your iTunes library on your new machine. Then, paste your transferred iTunes folder into this set location, ensuring that it is saved on the new computer’s internal storage.
- Wait for the complete transfer of your files from the external drive to your computer.
- Once done, press and hold the Shift key on your keyboard and launch iTunes.
- Upon launching, it will prompt you to choose between an existing library or creating a new one to associate with the app. You need to select Choose Library.
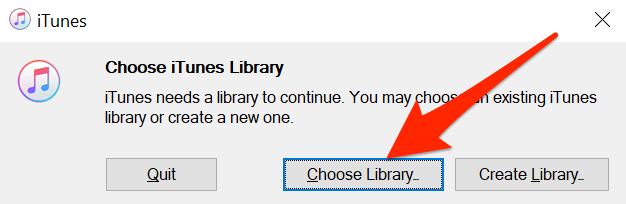
- Direct it to the new iTunes folder on your computer and select the iTunes Library.itl file. The application will then initiate the import of your content.
Upon successful import, you will find them on the same menu and interface as they were on your old device. This is how you can conveniently transfer your iTunes library to a new computer. Please share your experiences with this process in the comments below.
FAQs
Q1: What are the necessary steps to consolidate the iTunes library?
A: Launch iTunes, click on File > Library > Organize Library, and enable the Consolidate Files option.
Q2: How can I locate the iTunes Media folder?
A: Open iTunes, click Edit > Preferences > Advanced tab, where you can find the current path of your iTunes Media folder.
Q3: Do I need to delete the original iTunes files post-consolidation?
A: It’s principally your personal choice. However, it is not required if you have sufficient space on your computer.
Q4: Can I change the iTunes media folder location?
A: Yes, you can change the default iTunes media folder location using iTunes settings.
Q5: Can I transfer my iTunes library to a new computer without an external hard drive?
A: Yes, you can also use sharing services like Cloud storage or use an Ethernet cable to connect both devices for direct transfer. However, using an external hard drive is the easiest method.