Table of Contents
Safeguarding Your Email Correspondence: A Yet Unexplored Territory in Some Areas
The concept of exchanging emails has been widely regarded as a secure practice, primarily due to the fortification mechanisms put in place by service providers. These mechanisms ensure the safeguarding of the communication that happens back and forth. However, one may possibly come across certain emailing services where the feature of ’email encryption’ is conspicuously absent. In order to avail an extra layer of security, choosing to employ this function in your email apps could be a prudent step.
Users operating on Macintosh have the privilege to dispatch encrypted emails straight from the default email application on their device.

The fundamental Mac Mail application is equipped with capacity to encrypt your emails just before they embark their journey. Interestingly, the procedure of enabling this encryption demands the installation of an email certificate on the user’s Mac. Several digital service providers can hand over this certificate, with some even providing it for free.
Upon the completion of the setting up process, the Mail application is ready to dispatch encrypted emails. The content within these emails undergoes encryption, asserting that in case someone unauthorized attains access to these emails, their view would be restricted to a jumbled and unintelligible cluster of text which makes no sense at all.
Steps to Obtain a Complimentary Email Encryption Certificate
The initiation step to acquiring an email encryption certificate involves choosing a certificate supplier from the vast online marketplace. Given that the certificate you opt for will authenticate the emails sent from your Mac’s Mail App, making the right choice is vital.
While numerous services offer email encryption certificates, an attractive feature certain suppliers offer is a free certificate for your personal emails, a prime example being the service detailed below.
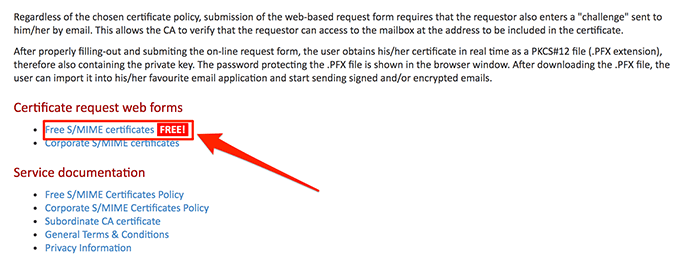
- Start by launching your preferred browser and navigate to the Actalis website. On landing on the site, look for and click on the ‘Free S/MIME certificates’ link, your gateway to a free certificate.
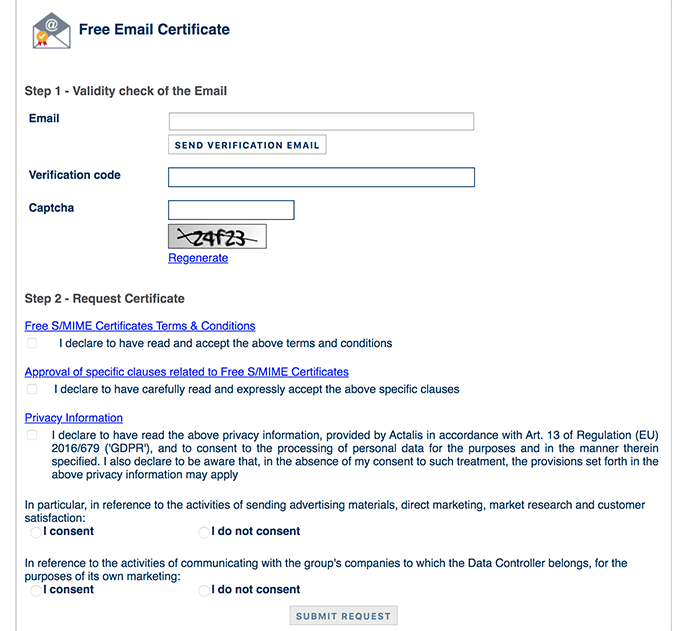
- You’ll now see a certificate request form on your screen. This form is your ticket to getting a certificate, hence ensure to fill it out with your correct details. Under the ‘Email’ field, input your email address and then click on the ‘Send Verification Email’ button to progress.
- You’ll be sent a verification email promptly. Retrieve the code from this email.
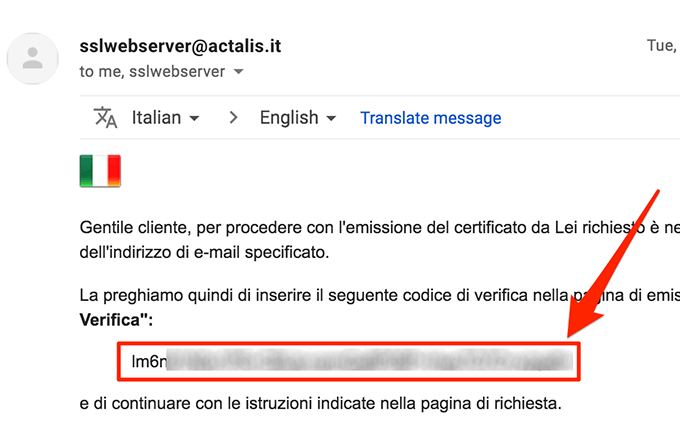
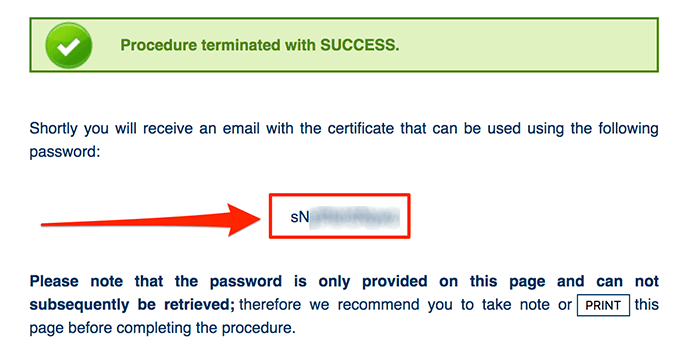
- Next, navigate back to the form page and input the received code into the ‘Verification code’ field. Proceed with entering the captcha, ensure the required boxes are checked, and finally, click on ‘Submit Request’. Doing so will lead to a screen displaying the password for your certificate. Remember to jot this password down – it won’t be shown again, making this your only chance to secure it.
- Instantly, a screen displaying the password for your certificate will make an appearance. As this is a one-time view, make an effort to note down the password given it won’t be shown again.
Upon completion of the above steps, your email encryption certificate request is deemed submitted. Relax and wait to receive an email with your new certificate attached. Voila, you’ve successfully secured your emails!
Setting Up Your Mac to Utilize a Free Email Certificate
Receive an email containing the free certificate? Great! Now it’s time to make use of it. The Keychain app on your Mac is the destination for the certificate installation, setting the pace for you to begin enjoying encrypted emails directly from your Mac.
- Start by locating and downloading the certificate, which likely arrived in a .zip file attached to the email. From there, extract the contents to your Mac. This is an effortless process – simply double-click on the .zip file and let the magic happen.
- Upon successful extraction, double-click on the certificate file you’ve just extracted. This action cues the installation process on your Mac.

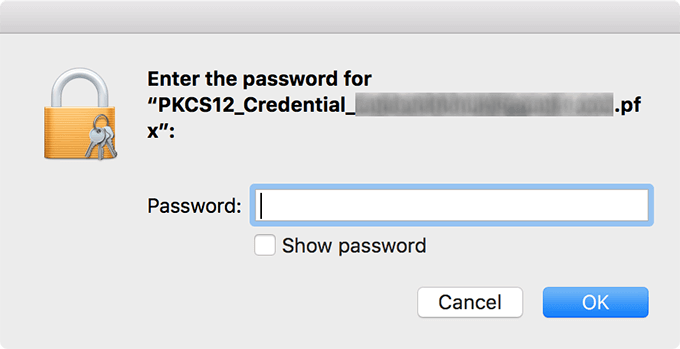
- Next, you’ll be prompted to input the certificate’s password. Please provide the password you jotted down when you initially applied for your certificate, and move forward by clicking ‘OK’.
Even though there won’t be a notification on your screen, be rest assured, the certificate will indeed be added to your Keychain app. This is the green light for encrypted emailing on your Mac, all thanks to the free email certificate. It’s as simple as that!
Ensuring Your Certificate Is Properly Installed In Your Keychain
Authenticating that your recently installed certificate has been thoroughly integrated into your keychain is critical. You can easily do this by opening Keychain and navigating to your certificate.
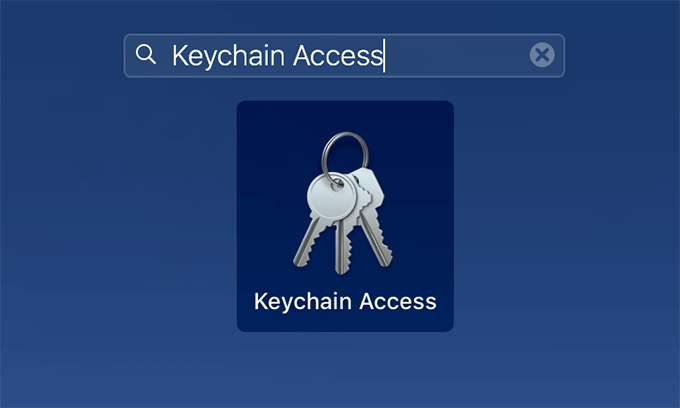
- Start by clicking on the Launchpad icon. From there, type in "Keychain Access" in the search bar and hit enter. A click on the resulting Keychain Access button will open up the application.
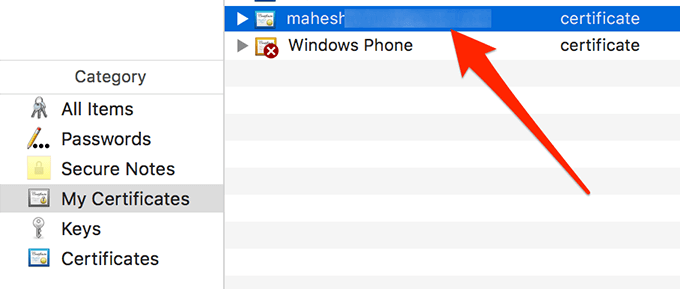
- Once inside, you will see several categories on the left sidebar. Look for the "My Certificates" option and select it. This will give you a list of all the certificates installed on your device. Keep an eye out for your recently installed email certificate. You can easily spot it on the right side of your screen within the certificate overview.
The presence of your new email certificate in this section signals a successful installation on your Mac. It’s a tremendous step in heightening your online security measures with the proper installation of certificates. It also proves your device’s readiness to handle encrypted communications, squarely placing your Mac’s security apparatus a notch higher.
Understanding that you’ve acquired the correct certificate and verified its correct installation in your keychain can give you peace of mind. This ensures the safety of your online communications and personal information, making your Mac a reliable tool in all your digital interactions.
How To Email Encrypted Messages Directly From Your Mac’s Mail App
Now that you’ve successfully installed and validated your digital certificate, you’re equipped to send encrypted emails from your Mac’s Mail app. There’s no need for additional setup, all you have to do is draft a new email and click send.
If the Mail app is currently active, it would be best to shut it down before we continue.
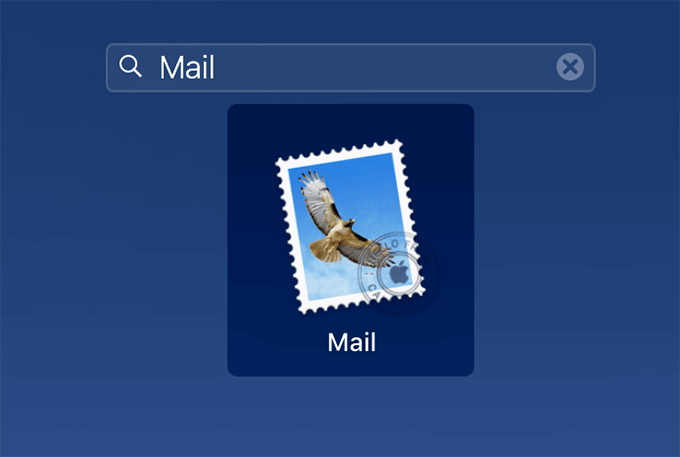
- Start up the Mail app on your Mac in the manner you find most convenient.
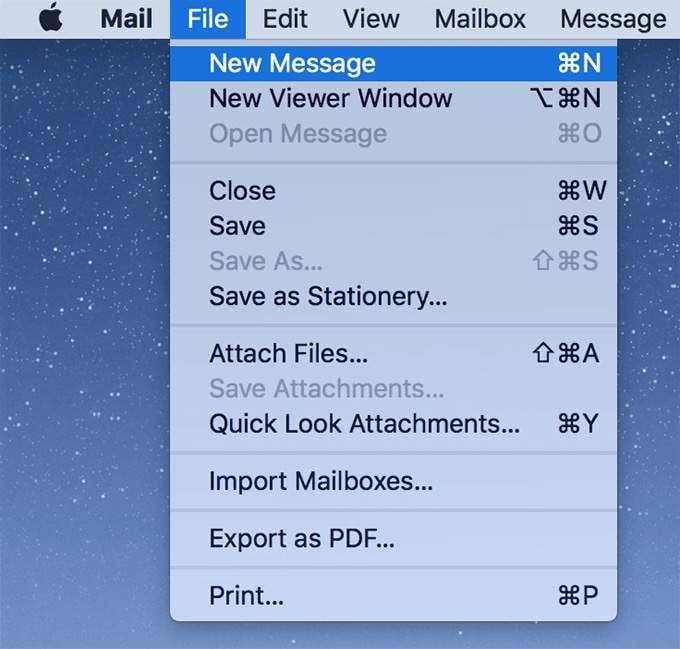
- To draft a new encrypted email, head over to the File menu and click on ‘New Message’.
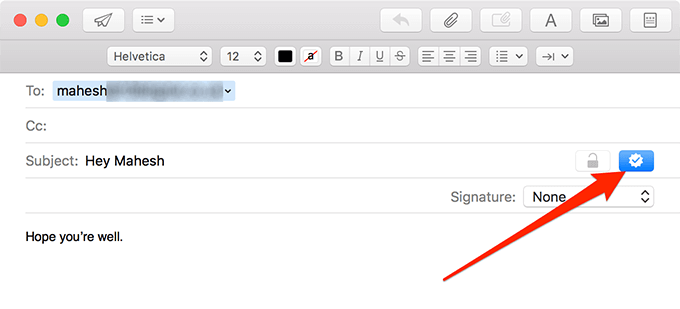
- A new email composition window will surface. Enter your recipient’s email address in the ‘To’ field, type a subject line, fill in your email content, and just before you hit ‘send’, ensure you click on the checkmark icon and confirm it’s blue. This signifies that your email will be sent with a digital signature.
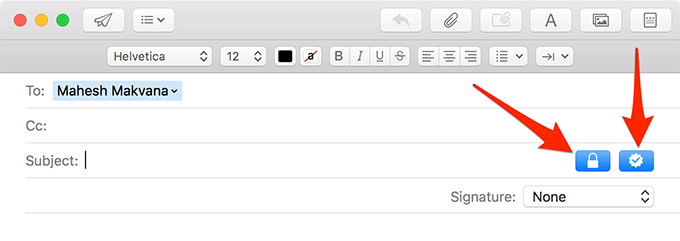
- Your digitally signed email is now on its way to the recipient. Once this process is done, now comes the part where we get to send an encrypted email. Revisit the email composition window, fill in the necessary details. Now, look for the lock icon next to the Subject field and make sure it’s blue before hitting send.
The email you’ve just written will be encrypted courtesy of your certificate, and then dispatched to your recipient. This encryption process offers an additional layer of security, ensuring that only your intended recipient can view your email.
Transmitting an Unshielded Email from Your Mac
Just because you have an encryption certificate does not necessarily mean that every email you send needs to be encrypted. Regular email correspondence remains entirely feasible.
- When crafting a new email, give the lock and check-mark options a miss. Avoid enabling them.

By doing so, your email is dispatched in the usual manner without any encryption. It remains a regular, unsecured email, void of any encryption layers.
Uninstalling Your Mac’s Email Encryption Certificate
There may come a time when, for one reason or another, you decide you no longer require your existing certificate. This could be due to the need of switching to a newer certificate or simply because you no longer desire to utilize it. Whatever your reason may be, it’s possible to uninstall the certificate from your Mac system.
- Initiate the Keychain application on your device.
- Navigate to your certificate, as outlined in the previous sections of this guide.
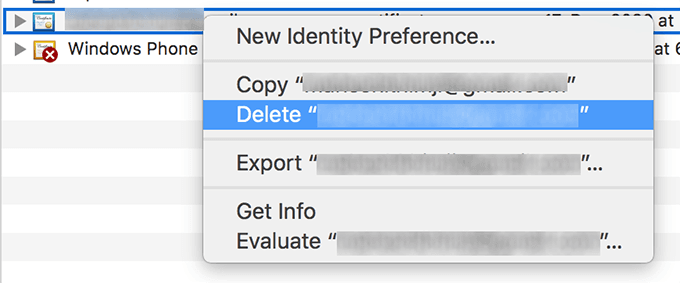
- Upon locating the certificate, right click on its icon and select the ‘Delete’ option from the dropdown.
Once completed, please note that you’ll no longer have the capability to dispatch emails encased in encryption via your Mac. To rectify this and continue with encrypted email communication, you’d need to install and configure a new encryption certificate.
Frequently Asked Questions
Q1: What is the importance of sending encrypted emails from a Mac?
A: Sending encrypted emails provides a layer of security to your communication. It ensures your correspondent sees your messages confidentially, protecting sensitive information from eavesdropping or data theft.
Q1: How do I know if my email has been encrypted successfully?
A: An email that has been encrypted successfully will typically show a lock icon. However, different email clients may have distinct indications of successful encryption, so it’s best to check with your specific provider’s guidelines.
Q1: Can encrypted emails be decrypted by anyone else?
A: Only the recipient with the right decryption key can decrypt and read the email. This decryption key is typically their email client’s password.
Q1: What happens if the recipient doesn’t have a decryption key?
A: If a recipient doesn’t have the correct decryption key, the email will appear as garbled, nonsensical text. It’s always important to ensure that recipients are also using encrypted email services for seamless communication.
Q1: Can I use any email client for sending encrypted emails from my Mac?
A: While majority of popular email services support encryption, it’s always good to check the support documentation for your specific email client or reach out to their customer support for confirmation.